How to Use L2TP VPN on Windows

Learn how to configure a RaceVPN L2TP VPN account on Windows using the built-in Windows VPN client and IPsec pre-shared key.
Learn how to configure a RaceVPN L2TP VPN account on Windows using the built-in Windows VPN client and IPsec pre-shared key.
What You Need
An active RaceVPN L2TP account.
Windows built-in VPN settings.
RaceVPN L2TP server address.
Username, password, and IPsec pre-shared key.
Step-by-Step Setup
Open Windows VPN Settings
Open Windows Settings, go to Network & Internet, and choose the VPN menu.
 Open Windows VPN Settings.
Add a VPN Connection
Click Add a VPN connection to create a new profile.
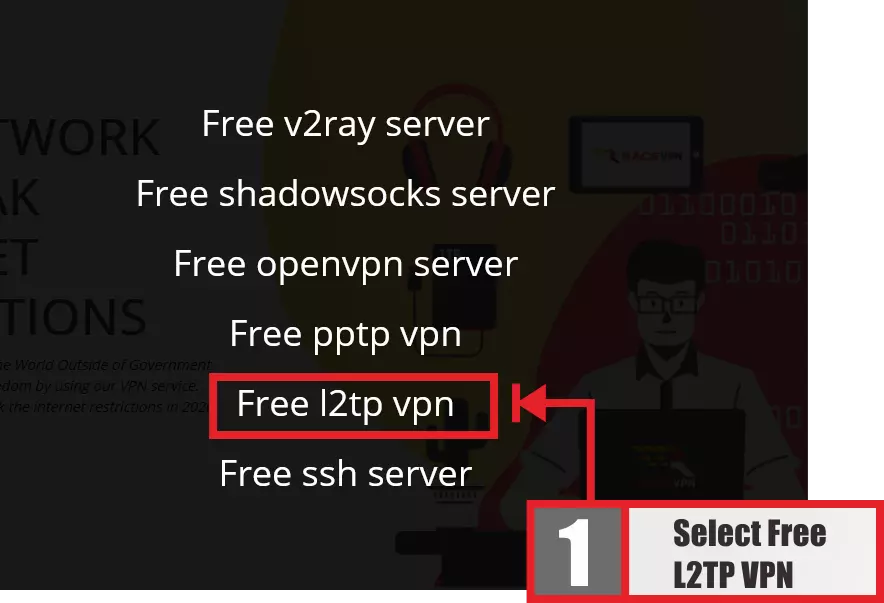 Add a VPN Connection.
Choose Windows Built-in Provider
Choose Windows built-in as the VPN provider.
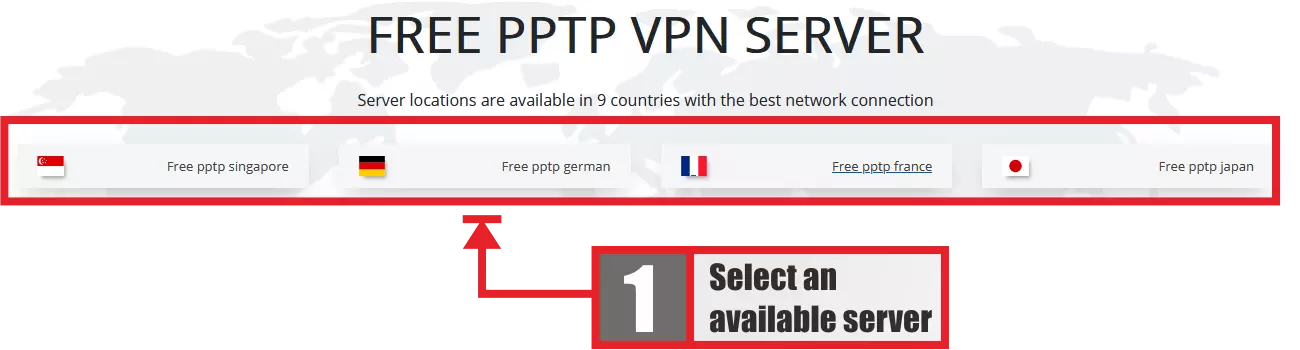 Choose Windows Built-in Provider.
Enter Connection Name
Enter a connection name such as RaceVPN L2TP.
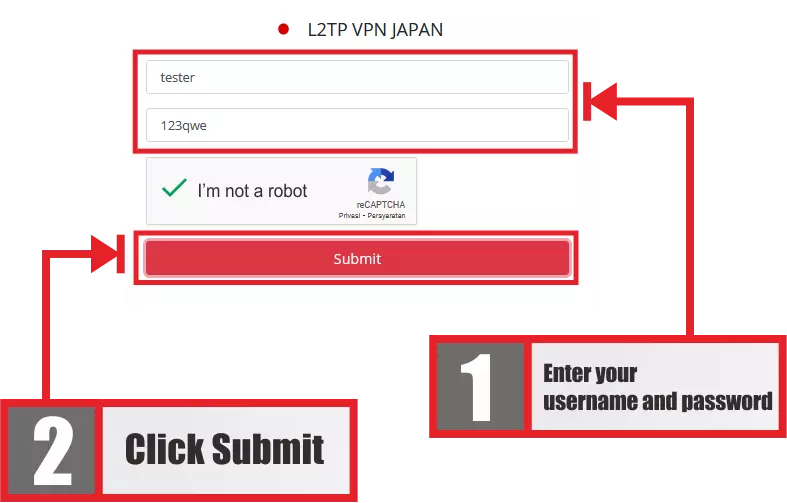 Enter Connection Name.
Enter Server Address
Copy the RaceVPN L2TP server address from your account result page and paste it into the server field.
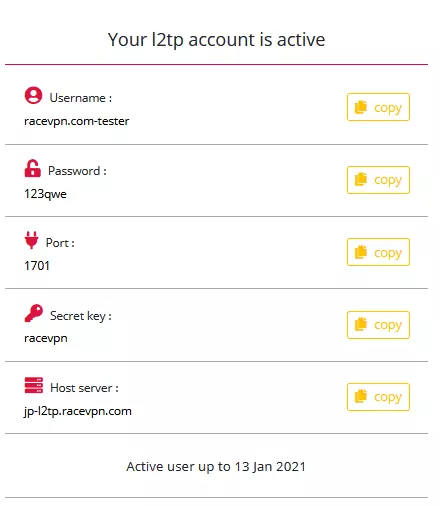 Enter Server Address.
Select L2TP/IPsec Type
Select L2TP/IPsec with pre-shared key as the VPN type.
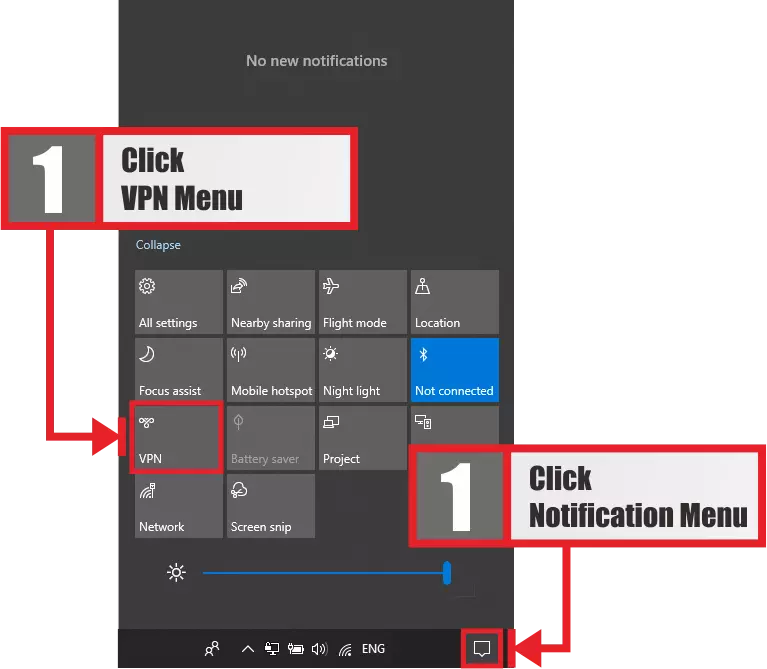 Select L2TP/IPsec Type.
Enter Pre-shared Key
Enter the IPsec pre-shared key or secret provided by RaceVPN.
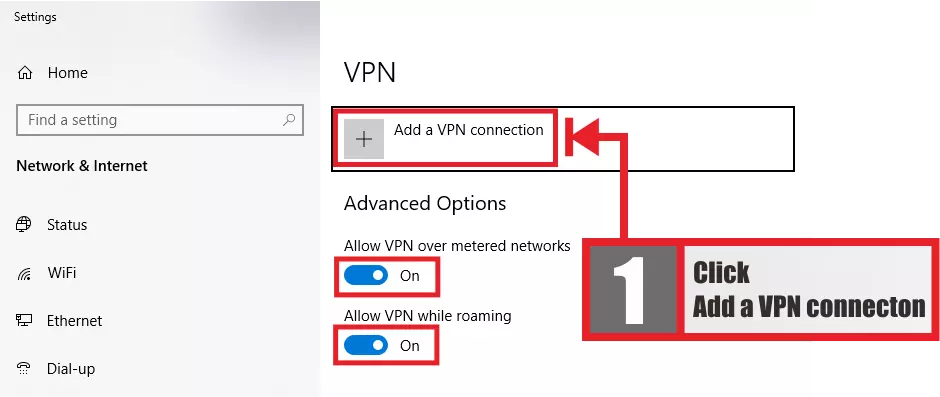 Enter Pre-shared Key.
Save the VPN Profile
Save the VPN profile after all information is correct.
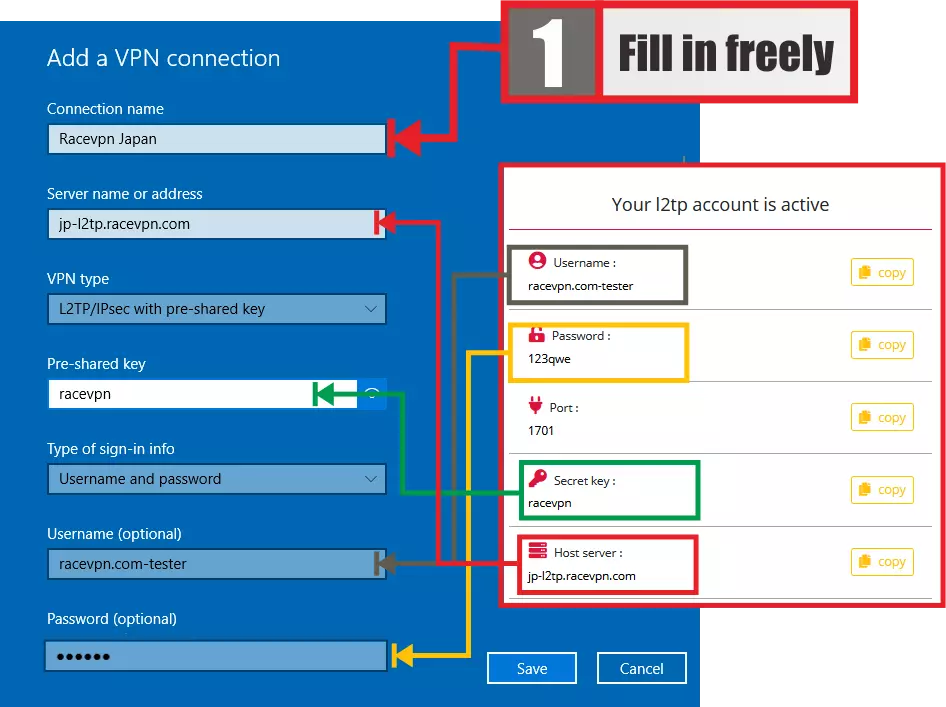 Save the VPN Profile.
Connect with Credentials
Select the saved profile, enter your username and password if requested, then connect.
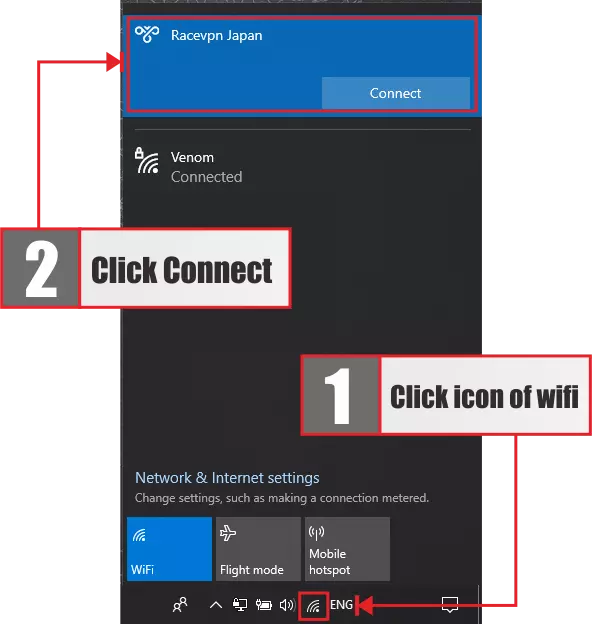 Connect with Credentials.
Confirm L2TP Status
Confirm that Windows shows the L2TP profile as connected.
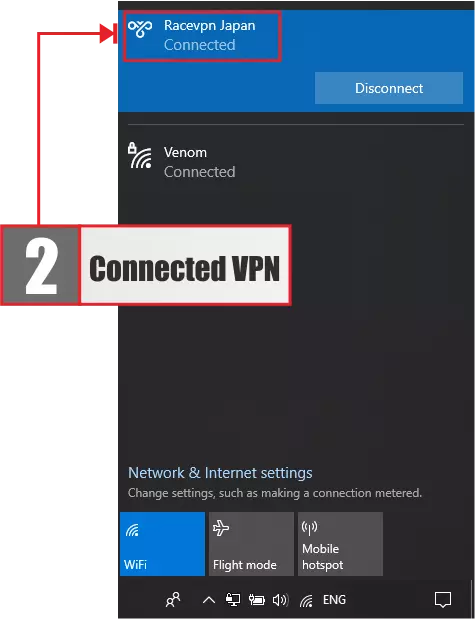 Confirm L2TP Status.
Troubleshooting
Check that the server is online, your account has not expired, and your username or password is typed correctly.
Disconnect and reconnect, then try another available RaceVPN server location if needed.
Copy the account details again from the RaceVPN result page and avoid extra spaces.
Choose a server closer to your real location or try another less crowded country server.
Create a Free L2TP VPN Account
Need a fresh L2TP VPN configuration? Visit the RaceVPN L2TP VPN server page and create a free account from an available country server.
View Free L2TP VPN Servers